
Payment Emails
Payment Email Creation
Follow those steps to create a new payment email from the merchant back office.
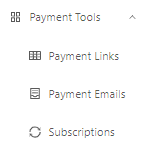
- Access the Payment Tools section and then select Payment Emails.
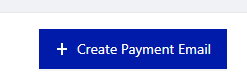
- Click the Create Payment Email button.
- Fill the form with the required information. The required fields will be shown on the form directly.
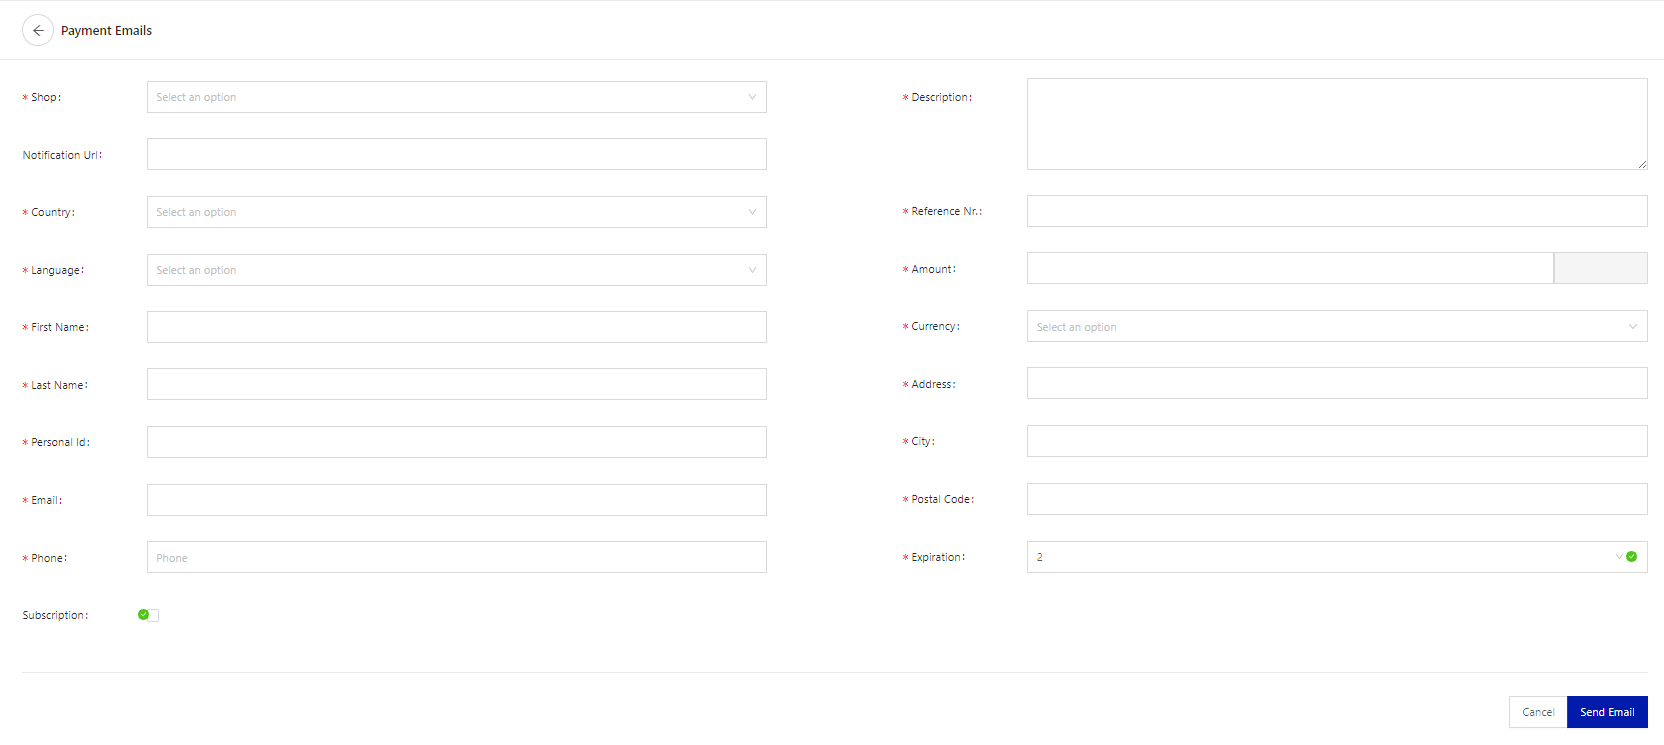
| Field | Description |
|---|---|
| Shop | The shop for which you are creating the Payment Link. |
| Notification URL | The transaction creation and the status changes will be notified to this URL. |
| Country | The country of residence of your user. |
| Language | The language displayed on the email. We suggest choosing the native language of the country used where applicable. For example: Brazil → Portuguese; Chile → Spanish. |
| First name | The customer's first name. |
| Last name | The customer's last name. |
| Personal ID | The national identification number of the user. |
| The email address of the user. | |
| Phone | The phone number of the user. |
| Description | A description of the payment. |
| Reference number | Internal ID used for reference on your system.
|
| Amount | The amount to be paid by the customer, the format should be a number with two decimals. Use a dot as separator (i.e. 1234.56). |
| Currency | The transaction currency. Please note that you can choose a local currency only if your payment page has local currency accounts. Otherwise, you must choose the dollar as currency. |
| Address | The address of the user. |
| City | The city of the user. |
| Postal code | The post code of the user. |
| Expiration | The expiration time of the payment email in days. |
| Subscription | Check this box if you want to send payment emails at fixed intervals. You will have to set it to monthly or weekly emails and chose the time range during which the emails will be sent. |
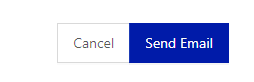
- Click on the Send Email button.
- A pop-up window should appear with a confirmation that the email has been sent along with the customer's details.
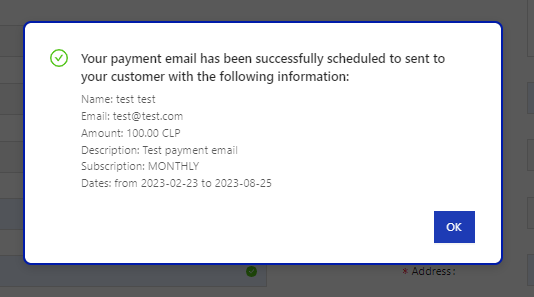
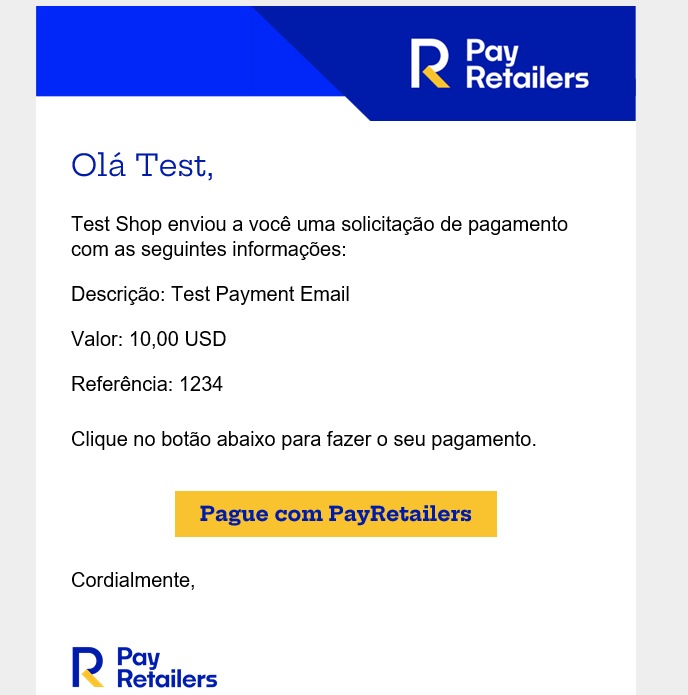
- The user will receive an email with the Payment Link.
Payment Email Status
You can view your payment emails history under the Payment Links section. Please keep in mind that the ID displayed is the Paywall ID, not the Transaction ID. The status of the payment email will appear under the payment link info column. You can resend the email if needed, but you cannot edit the details. In case of a mistake that impedes the reception of the email or the payment, you will have to create a new payment email.

The possible statuses are:
- PENDING USE: the payment link has not been visited yet.
- USED: the payment link has been visited by the customer and a transaction was created. The transaction ID should be visible under the status of the payment email. Clicking on it will open a side window with the transaction's details.